ELITE
ANIMATION
STUDIO.
Experience the next generation of stick figure animation. No downloads, no plugins—just pure creative power. Professional-grade keyframing and high-quality rendering in your browser.
✨ and get a FREE 7-day Pro trial — no credit card needed. Pro Studio works best on desktop/PC.
LEARN TO ANIMATE →Meet Stick Studio Pro
The full professional studio experience — backgrounds, text layers, undo/redo, 1080p export and more. All in your browser.
· Secure payment via PayPal
FREE CREATOR ASSETS
Zero Latency Engine
Our lightweight JavaScript engine allows for 60FPS real-time posing. Runs smoothly on Chromebooks, tablets, and low-end PCs without lag.
Pro Cinema Render
Export in WebM format with VP9 encoding. Choose from 480p for social media or 1080p for professional productions. Highest quality guaranteed.
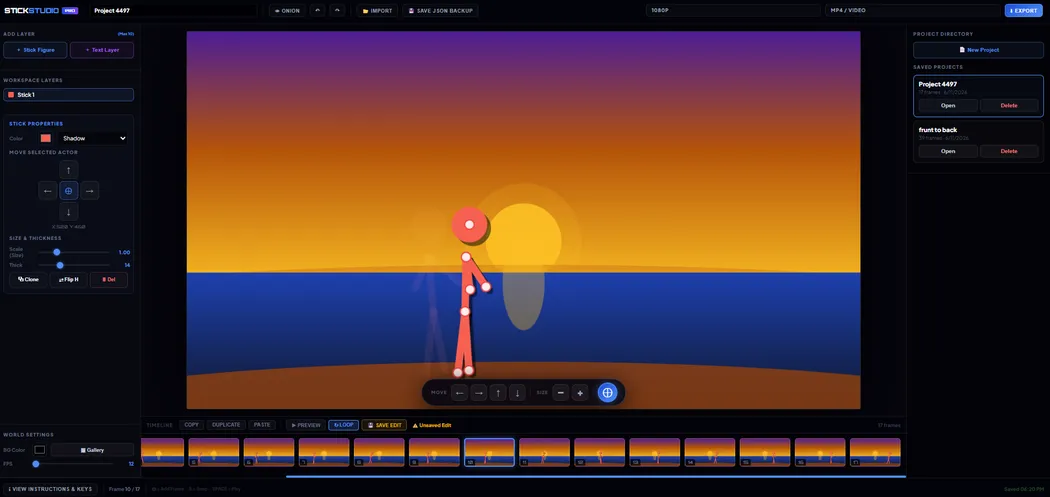
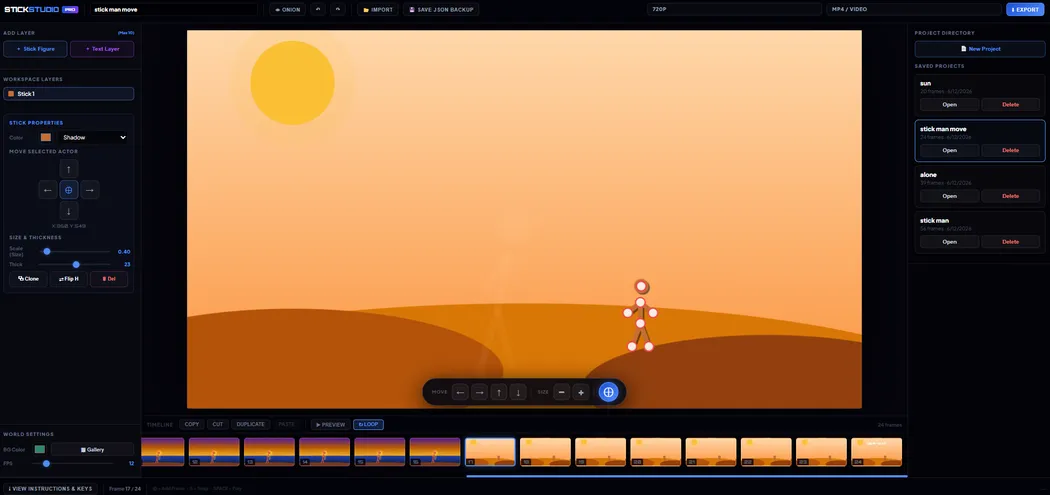
Project Library System
Save complete animation projects with renaming and organization features. Your work is automatically saved locally with timestamps and frame counts.
The Complete Guide to Stick Figure Animation
Stick Studio Pro is a professional-grade stick figure animator online designed for creators who demand precision. Our web-based platform brings desktop-class animation features directly to your browser without requiring downloads or installations.
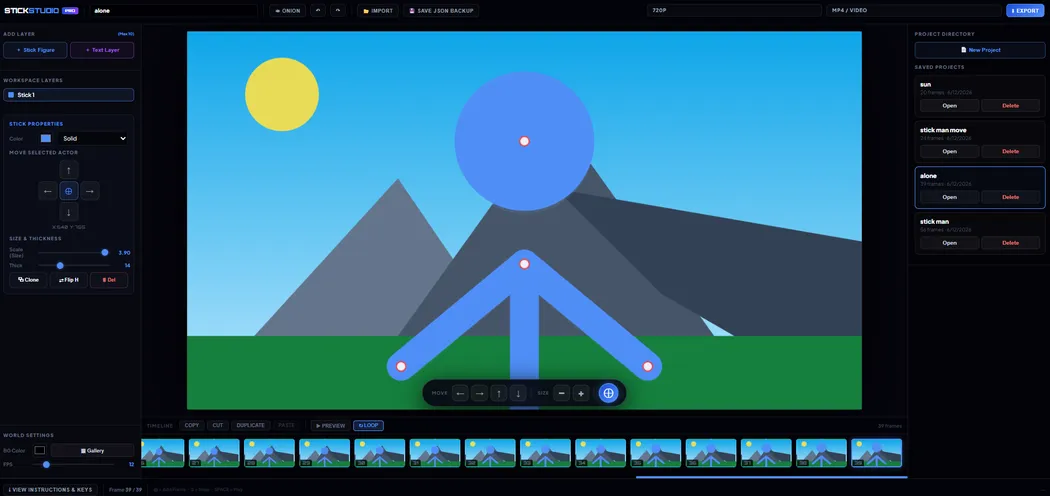
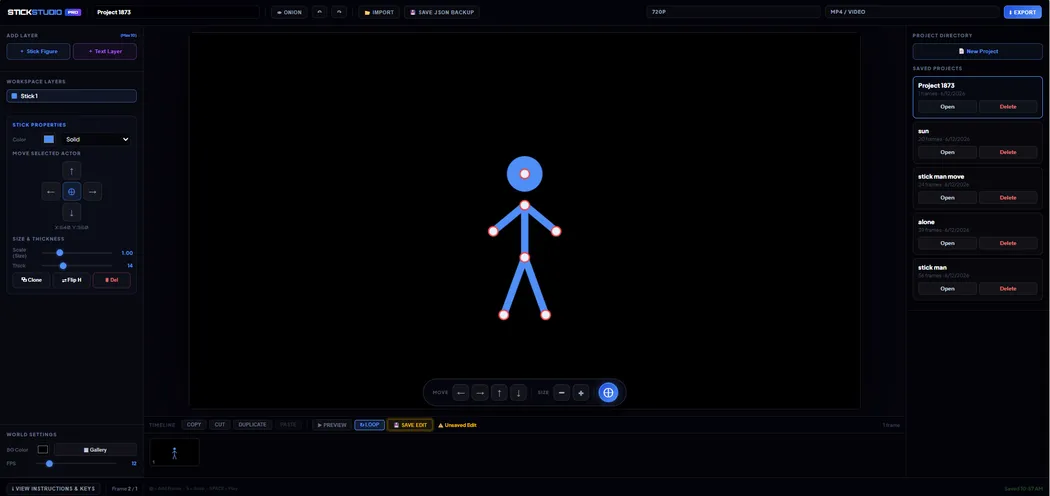
Step 1: Posing Your Character (The Trainer)
When you launch the studio, you start in the Trainer. Each stick figure (Actor) is made of a mathematical vector skeleton. You will see red circles—these are Joints. To move your character, simply click and drag these joints.
Under the hood, each joint is connected to its neighbor by a rigid segment, and dragging a joint recalculates the angle of every segment attached to it — this is the same core idea used in professional 3D character rigs, just simplified to two dimensions. Understanding this relationship is the single most important skill in stick figure animation, because it determines how believable your motion looks. A joint moved in isolation, with no compensation from the joints around it, tends to look mechanical. A joint moved as part of a small chain reaction — hip shifts slightly, knee bends to compensate, foot rotates to stay planted — looks alive.
Most beginners make the same mistake: they pose the hands and feet first, then work inward toward the torso. Reverse this. Start with the hip joint, since it's the character's center of mass. Every other limb is essentially "hanging" off that central anchor point. Once the hip is placed where you want the character's weight to sit, work outward — spine, shoulders, then arms and legs, finishing with hands, feet, and head. This order mirrors how animators have blocked out poses since the earliest days of traditional cel animation, and it consistently produces more balanced, natural-looking results than working limb-by-limb from the extremities inward.
Step 2: Creating Motion (The Timeline)
Animation is essentially a series of still images played in rapid succession. To make your stickman move, you must use the Snap Frame button. Once you have your first pose, click Snap. Then, move your character's joints just a tiny bit and click Snap again.
The critical variable here is spacing — the distance a joint travels between one frame and the next. Large, even spacing across every frame produces motion that feels robotic and unchanging in speed. Real movement almost never travels at a constant rate. A punch, for example, should accelerate as the fist travels toward its target (larger spacing between frames as it speeds up) and then hold nearly still for a frame or two at full extension before recoiling — this brief pause is called a hold, and it's one of the most underused techniques by beginners. Without a hold, fast actions read as a blur with no impact; with one, the same action reads as forceful and intentional.
A second concept worth learning early is anticipation: before a large movement (a jump, a punch, a fall), animate a small movement in the opposite direction first. A character about to jump upward should first crouch slightly downward. This tiny counter-movement, lasting only one or two frames, is what separates animation that feels "readable" from animation that feels abrupt — viewers' eyes need a visual cue that something is about to happen.
Step 3: The Project Library (Saving Progress)
One of the most powerful features of Stick Studio Pro is the Project Library. Name your animation project and click Save Project.
Because everything is stored in your browser's local storage rather than on a remote server, your projects load instantly and remain available offline — but it also means it's worth exporting a JSON backup periodically (via the Cinema Render tab) if you're working on something you don't want to risk losing to a browser cache clear. Organizing longer animations as multiple smaller saved projects — one per scene or shot — rather than a single giant timeline also makes it far easier to revise individual sections later without having to scrub through hundreds of frames to find the part you want to fix.
Step 4: The Cinema Compositor (Final Render)
Ready to see your movie? Go to the Cinema Render tab. Select your resolution and click "Export" and our engine will compile your frames into a high-quality video file.
Resolution and frame rate should be chosen based on where the animation will end up. For social platforms like TikTok, Instagram Reels, or YouTube Shorts, 720p at a moderate frame rate keeps file sizes manageable while still looking sharp on a phone screen. For a portfolio piece or a fight scene with fast, detailed motion, 1080p captures the extra clarity that quick movements need to avoid looking muddy. WebM tends to produce a smaller file at equivalent visual quality, which is useful if you're uploading directly to a site with strict size limits, while MP4 has the widest compatibility across devices and video editors if you plan to bring your export into another program afterward.
Frequently Asked Questions
Why does my exported animation look choppy or stuttery?
This is almost always a spacing issue rather than an export bug. If the distance a joint travels between consecutive frames is too large, the motion will visibly "jump" instead of flow. Try adding one or two extra in-between frames at the point where the stutter occurs, with smaller movements between each — this is called adding a "breakdown" frame, and it's the standard fix animators have used for this exact problem for decades, long before digital tools existed.
What's the difference between the Free plan and Pro?
The Free plan includes the full posing engine, onion skinning, timeline, and 480p export — everything needed to learn animation and produce shareable clips. Pro adds higher export resolutions up to 1080p, unlimited undo/redo history, additional scene backgrounds and font styles for text layers, instant export with no wait time, and JSON project backups. Most hobbyists start on Free and upgrade once they're exporting work they want to publish at higher quality.
Do I need any drawing skill to use Stick Studio Pro?
No. The stick figure rig is pre-built — you're posing and moving joints rather than drawing shapes freehand. This is precisely why stick figure animation has historically been the entry point for many animators: it isolates the skill of timing and motion from the skill of drawing, letting you practice the former without needing the latter first.
Can I animate more than one character interacting, like a fight scene?
Yes — use the Actors control in the Trainer to add multiple stick figures to the same canvas. For convincing fight or interaction scenes, pose the character initiating the action first (the one throwing the punch or pushing), then pose the reacting character's response in the same frame, timed slightly behind. A one or two frame delay between action and reaction is what makes hits, throws, and impacts feel connected rather than like two separate animations overlapping by coincidence.
Is my work private, and where is it stored?
Your animation projects are saved locally in your browser's storage on your own device — they are never uploaded to a server as part of the free saving feature. This means your work stays private by default, though it also means projects won't sync automatically between different browsers or devices unless you export and manually transfer a JSON backup.